Operating Procedures for a 2-Cavity Fully Automatic Blow Molding Machine: A Guide to Safe, Efficient, and Standardized Production
This document outlines the essential operating procedures for a 2-cavity fully automatic blow molding machine. Adherence to these guidelines is mandatory to ensure operator safety, maximize machine efficiency, maintain consistent product quality, and achieve a standardized production process.
1. Safety First: Non-Negotiable Protocols
Safety is the highest priority. Failure to follow these rules can result in severe injury or equipment damage.
Personal Protective Equipment (PPE): Must be worn at all times within the operational area.
Safety glasses to protect from flying debris or hot plastic.
Heat-resistant gloves for handling hot preforms, bottles, or molds.
Hearing protection, as the machinery can be loud.
Closed-toe shoes and fitted clothing to avoid entanglement.
Lockout/Tagout (LOTO): Before performing any maintenance, cleaning, or mold changeover, the machine MUST be completely powered down and isolated from its energy sources (electrical, pneumatic, hydraulic). Use individual locks and tags to prevent accidental energization.
Machine Guards: Never operate the machine with safety guards, light curtains, or interlocks removed, disabled, or bypassed. These are in place to prevent access to moving clamps, high-pressure systems, and high-temperature surfaces.
Emergency Procedures: Know the location and function of all emergency stop buttons. In case of any abnormality, press the nearest E-stop immediately.
2. Pre-Operation Checks (Start of Shift)
A systematic startup procedure prevents problems and ensures a smooth production run.
Visual Inspection: Check for any obvious signs of damage, loose components, hydraulic/pneumatic leaks, or foreign objects in the machine area.
Energy Source Verification: Ensure air pressure is stable and meets the machine's requirement (typically 6-8 bar for utilities, 25-40 bar for blow pressure). Check water cooling system valves are open and flow/pressure are correct.
Lubrication: Check central lubrication system levels and ensure all points are being serviced. Manually lubricate guide rails and rods as per the manufacturer's schedule.
Preform Hopper: Ensure the hopper is clean and filled with the correct, dry preforms. Verify that the dehumidifying dryer (if equipped) is functioning and set to the proper temperature for the PET material.
Mold Area: Visually confirm that the two molds are clean, properly installed, and securely clamped. Check for any damage to the neck inserts or cavity surfaces.
3. Machine Startup and Operation
Power On: Turn on the main power switch. The machine's PLC (Programmable Logic Controller) will boot up.
Parameter Loading: Select the correct recipe from the HMI (Human-Machine Interface) for the product you are running. This recipe includes all pre-set parameters: oven heating profiles, stretch rod timing, blow pressures, and timing sequences.
Heating Phase: Start the oven heaters and allow the machine to reach its set operating temperatures. This stabilization period is crucial for consistent preform heating. Do not start cycling until temperatures are stable.
Automatic Operation:
Initiate the automatic cycle.
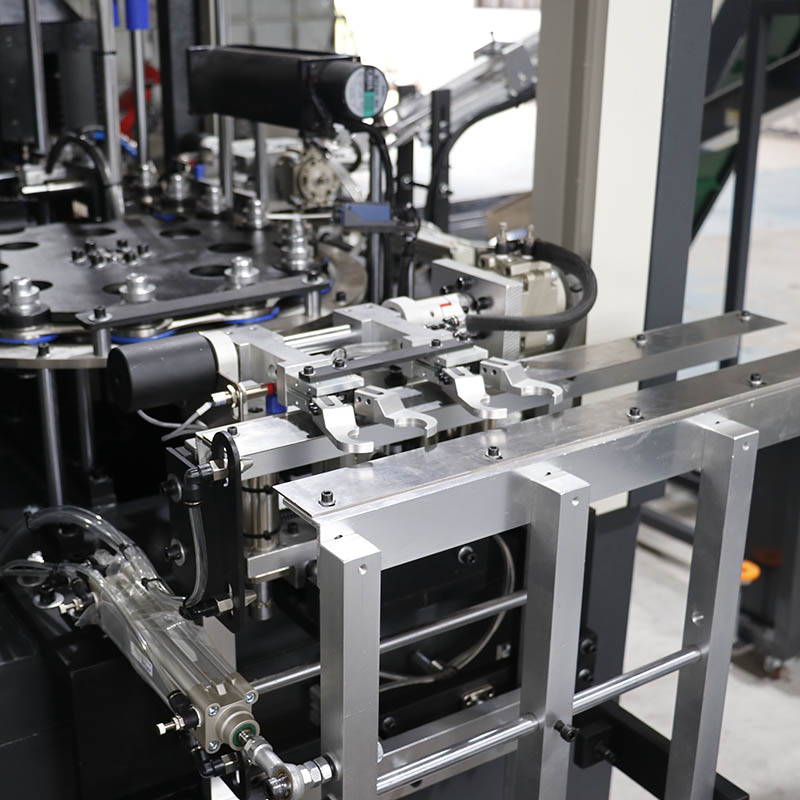
The robot will automatically pick two preforms from the feeder and place them into the loading stations.
Preforms will index through the infrared ovens, rotating for even heating.
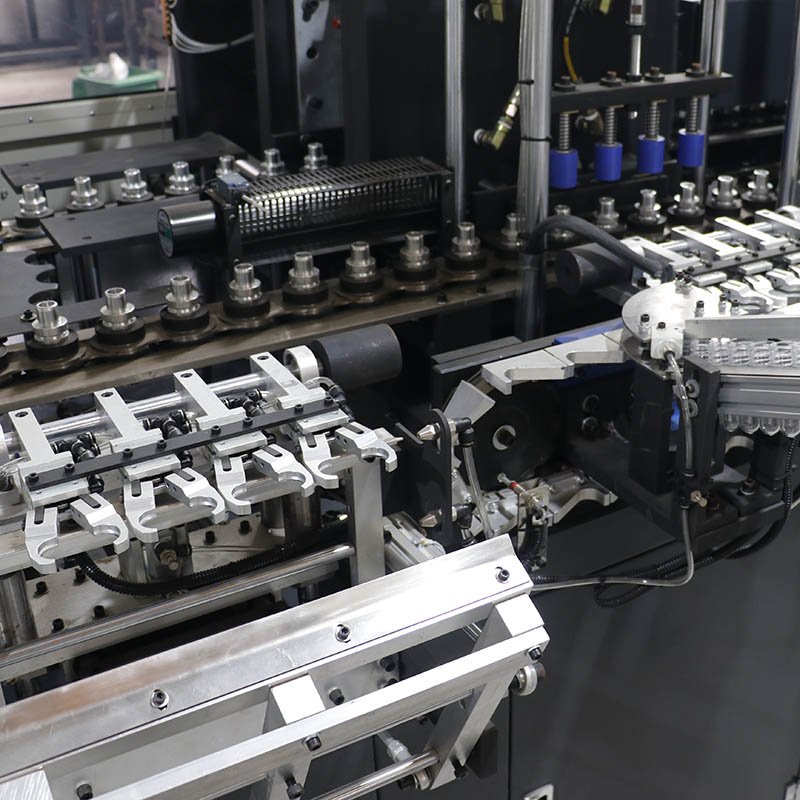
The heated preforms will be transferred into the two mold cavities.
The molds will close, and the stretch rods will extend followed by the blow pins injecting high-pressure air to form the bottles.
After a brief cooling period, the molds will open, and the finished bottles will be ejected onto the conveyor.
First-Article Inspection: After startup, carefully inspect the first few bottles from each cavity for critical quality attributes:
Weight & Wall Thickness: Use a scale and ultrasonic thickness gauge.
Height & Dimensions: Check with calipers or a go/no-go gauge.
Visual Defects: Look for haze, whitening, black spots, or poor base definition.
Neck Finish: Ensure it is formed correctly and is not distorted.